How to Take Better Pictures for Real Estate Listings-Featured.jpg

How to Take Better Pictures for Real Estate Listings

According to a joint study from The National Association of Realtors® and Google, 90% of home buyers searched online during their home buying process.

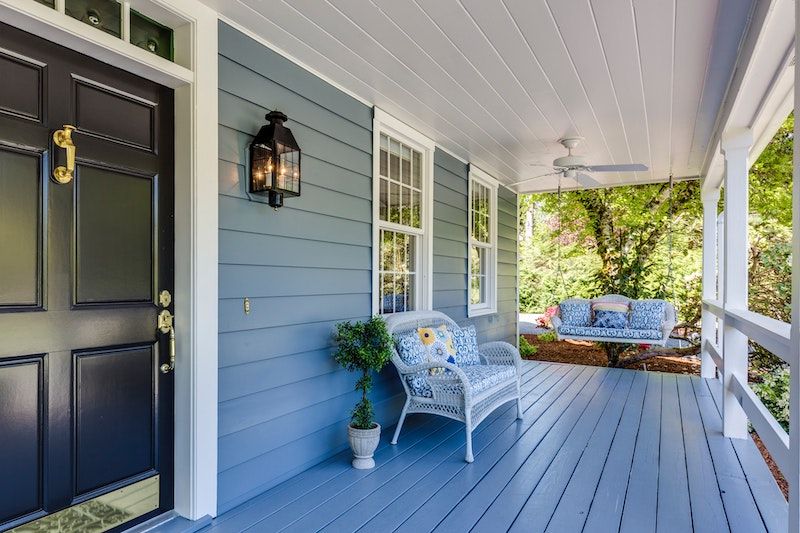
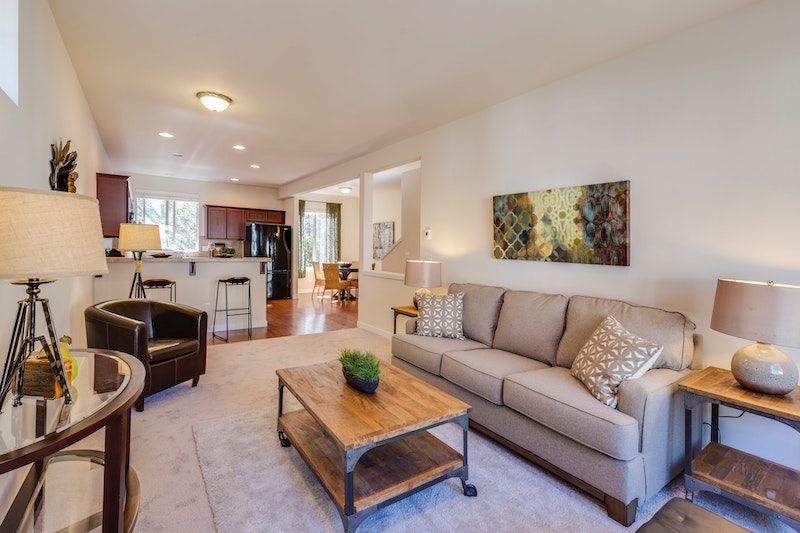
When buyers are looking for real estate online, they expect to see pictures, between 20 and 25 pictures in most cases, and it’s important that those pictures are professional.

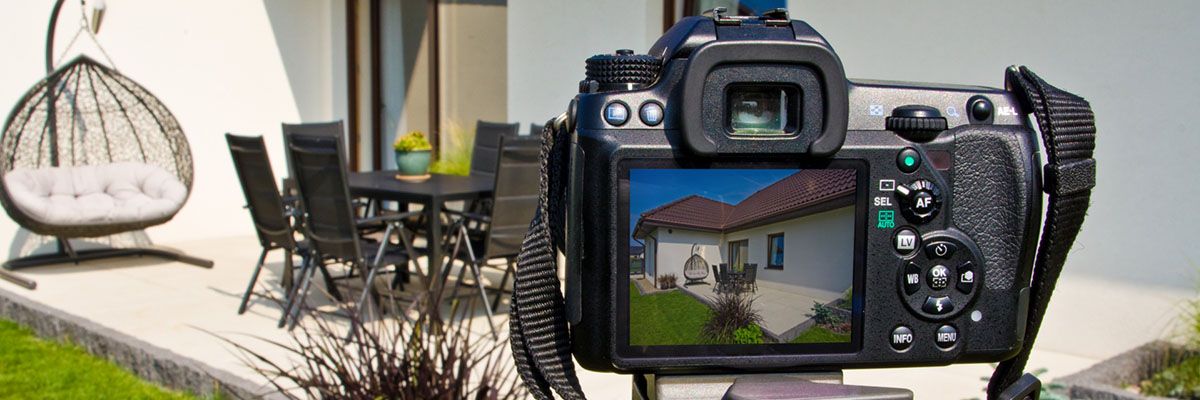
The best case scenario is to hire a professional photographer, but that’s not always possible. And, if you’re taking your real estate pictures yourself, you need to know how to get it right. Here are a few tips to help.

8 tips for better real estate photography

real estate photos.jpg

#1. Prepare the space

Before you start shooting, you need to make sure that the space is ready to go. That means picking up clutter and thoroughly cleaning before you take pictures.

But, you also want to de-personalize the home to make it look less “lived-in.” This includes stashing personal belongings, like pet toys, family pictures, refrigerator magnets, etc.

Last but not least, turn on all of the lights and open all of the doors so interested parties can see the layout of the home and how the rooms connect with one another.

#2. View the house from a buyer’s perspective

Take a few minutes to walk through the house with the homeowners before you get your camera out, putting yourself in the buyer’s perspective and trying to see it from their eyes.

What makes a house a home goes beyond layout or the number of bedrooms and bathrooms it has. It’s the emotion and passion connected to the house that makes it a home, and touring the house with the homeowner will help you capture it.

While touring the home, keep a close eye out for anything that might turn a potential buyer off. Remember, that if you can see something, chances are, your camera will pick it up.

#3. Take advantage of natural light

Lighting is a vital part of any kind of photography — whether it be wedding photography, portraits or anything else — and real estate photography is no exception.

The good news is that, even though getting the lighting right is absolutely critical, you don’t need a lot of fancy equipment to do so. In most cases, natural lighting is the best option for real estate photography.

Take some time to open all of the curtains, shades, blinds, etc. to let as much natural light into the home as possible. And, shoot when the most sun is shining through the windows. For example, if the house faces east, shoot in the morning.

#4. Be cognizant of the line of sight

Too often, a real estate agent is so caught up with getting a picture of the big beautiful bay window that they don’t pay attention to what can be seen through the window itself.

Be cognizant of anything and everything in the line of sight of your camera. Not only does this include what can be seen through windows, but also the windows themselves.

If there are spots or smudges on the windows themselves, it can distract from the beautiful view out the window or even the room itself. Thoroughly clean the windows before taking photos, and consider removing the screens wherever possible.

real estate photography.jpg

#5. Shoot photos and the virtual tour on the same day

Ideally, there needs to be a base level of consistency in your photos and virtual tour. They should all have the same look and feel, and the lighting quality should be the same.

To establish this kind of consistency, you’ll want to plan to shoot your real estate photos the same day you shoot your virtual tour — around the same time of the day if possible.

#6. Capture as much of the room as possible

As a buyer myself, I can’t tell you how frustrating it is to see beautiful pictures on an online listing, only to feel totally deceived when I see the house in-person.

While you want to paint the home in the best light, you also don’t want to deceive potential buyers by giving a realistic, honest portrayal. One way to do that is by capturing as much of the room as possible by shooting from the right spot in the room.

Stand in the doorway or from a corner of the room while taking photos, and try to capture three walls at once.

#7. Use a tripod

Real estate photos are not action shots and should not be treated as such. They’re akin to portraits of the home, which means that you need to keep the camera as steady as possible while shooting.

Keeping your camera perfectly steady can be hard to do on your own, but an easy way to make sure that you get it right is by investing in a tripod. Not only will a tripod help you hold your camera steady, but it will also help you get the angle of your photos right.

Whenever possible, shoot at chest height so that the person viewing the photos will feel like they are walking into the room.

#8. Don’t rely too heavily on editing

You shouldn’t rely on editing to make up for unprofessional photos or to fix major problems. Editing is best thought of as the final touch on a photo, and it shouldn’t consist of much more than adjusting brightness or contrast to make your photos more visually pleasing.

Editing can be really helpful when used appropriately. But, the last thing that you want is to overdo it.

Be careful not to over-edit your photos. As I mentioned, you want your real estate pictures to be an honest representation of the home, and if you over-edit you run the risk of misrepresenting the home to potential buyers.

You can take the best real estate photos in the world, but if you’re displaying them on a website that isn’t up to par, it’s all for naught.

Build a modern, professional real estate website with Websites 360®. Pick a design template to get started.